Showing posts with label DIY fashion. Show all posts

7/25/12

DIY: Black Studded Clutch

Cheers for another DIY!
I thrifted this black clutch with a cute little tassel from Salvation Army for $2.
It was a little too plain for my taste so I decide to add some studs to it!
I've always used studs with prongs but this time I wanted to to use iron-on studs instead.


Materials
- clutch / bag of your choice
- iron on studs
- an iron (not pictured)

Start off by deciding where you want to start placing your studs and iron it on one at a time.


Keep your iron on the stud for about 20 seconds, just so that the glue on the stud can melt and stick.
You can check if your stud is in place with your fingers but be very careful because it is hot.
If the stud feels secure, place another stud and iron it.

Just continue to iron your studs until you're satisfied.
This should be your final product! Pretty easy, right?
ENJOY!

7/19/12

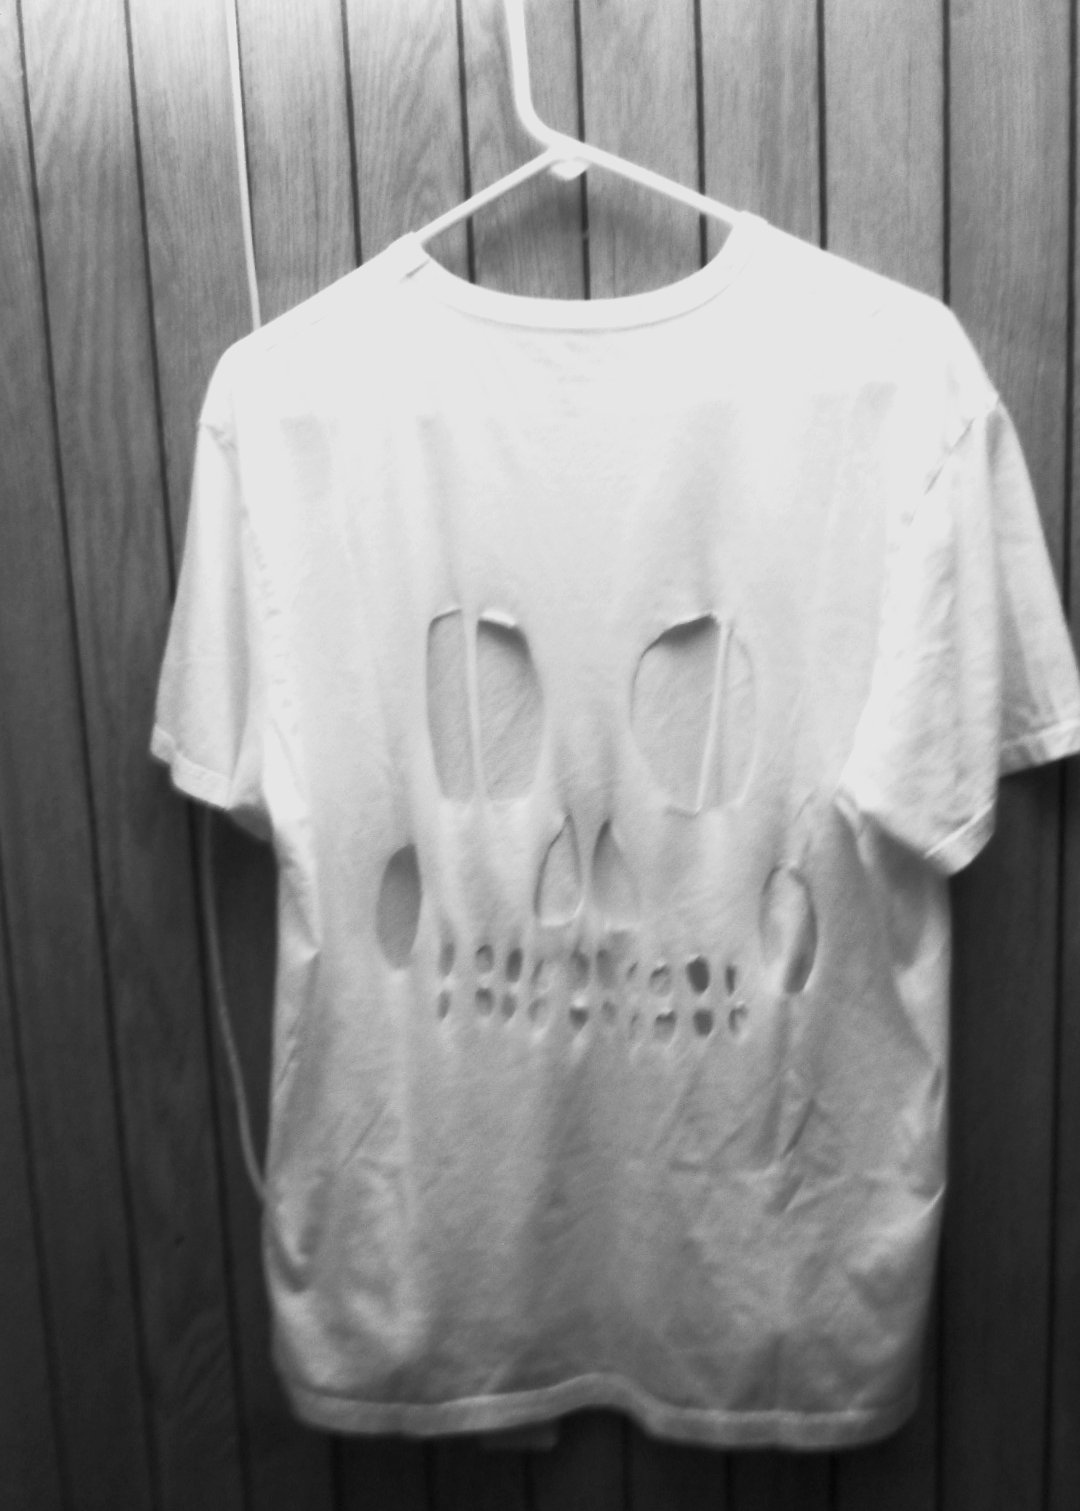
DIY skull cut-out shirt


These shirts have been all over tumblr. Just search the hashtag "skull shirt" and you'll see what I mean.
This is a super easy DIY and I think everyone has the ability to duplicate this. I took some photos
when I was making my own and decided to post them because these tops are straight up badass.

(Left: Dalis Top from Brandy Melville, Right: Truly Madly Deeply Cutout Back Tee from Urban Outfitters)

Materials you'll need:
a shirt of your choice, a pair of scissors, a pencil, & a large hard-cover book

Step 1: Take your shirt and start with the back of it.

Step 2: Using a pencil -- outline two large ovals for the eyes, two medium ovals for the nose, and
smaller ovals for the teeth. Add two more ovals at the sides of the "smile." If you want to use a
template, you can refer to the two photos I have at the top of this post -- the Brandy Melville or Urban
Outfitters shirt.


Step 3: Put a book in your shirt near the area that you will be cutting in. Take your scissors and 
carefully start cutting out your outline. To add that thin piece inside the skull's eye socket, just draw
 a thin rectangle and cut around it -- like if it was the shape of a half moon. This part can be very 
time-consuming but I assure you, it will be worth it. Just cut, cut, cut!


Et voila! Your very own skull cut-out shirt!